Archive for December, 2015
Cape Banks and Golf…
by Rodney Campbell on Dec.11, 2015, under Life, Photography
Many many moons ago (well in February!) Gerry and I had another Sneaky Sunday session out at Cape Banks. This was a new location for us to explore down on the coast between New South Wales Golf Club and The Coast Golf Club & St. Michael’s Golf Clubs. Situated just a little south of Little Bay near the end of the peninsula of land at La Perouse.
Note: These photographs (especially the wider shots) look much better when larger – so click any of the images below to see larger versions in an inline overlay slideshow gallery viewer.
Gerry had found a potentially useful looking gully on Google Maps which appeared to have a good aspect for sunrise.
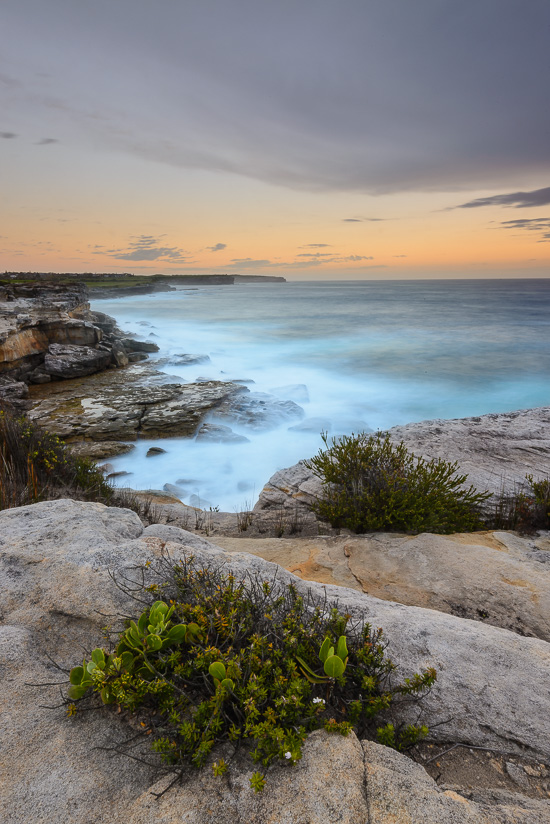
Clifftop Greenery
So it was we found ourselves out on the cliffs just past 5AM looking for something good to shoot. Unfortunately for us the gully and the rocks below were uninspiring and after checking out the location as best we could in the dark we eventually gave it up as a lost cause and headed up to the top of the cliff to see if we could salvage the location from up top.
I was searching the clifftop for something interesting to include as some foreground interest in a shot. I don’t normally like to have just the top edge of the cliff as a line across the bottom of my frame or just empty water at the bottom so I’m usually on the lookout for something interesting to bring me into the bottom of the image. Here I’ve put myself really close to these very small clifftop plants with some cracks in the rock to lead me there. As I was so close I ended up shooting at f/22 to gain the depth of field I required to extend far enough forward to include my foreground greenery and also get the background to be somewhat sharp. Normally I don’t like shooting much past f/11 but in this instance I had to really stop down. I could (and probably should) have shot two images and focus stacked them for a better result. It’s 6:30AM and right on scheduled sunrise tho the thick cloud right on the horizon to the right has blocked that out. The shot above with the Heliopan CPL stacked with the Lee 0.9 Hard Grad.
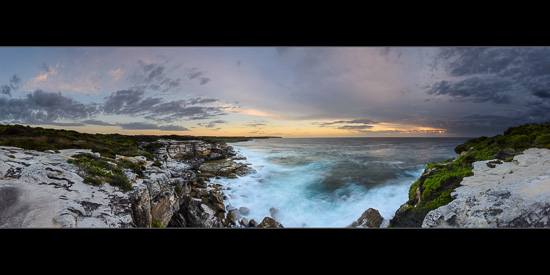
6:40AM and it’s time to try the obligatory stitched panorama. I’ve got Gerry out there on the cliff edge on the left third shooting back towards me and to the cliff on my right where the sun which was now trying to peek through the low clouds was creating some interesting light and colour on the cliff face and plants over there.
This panorama a stitch of eight (8) frames of 3 seconds @ f/13 and ISO 100
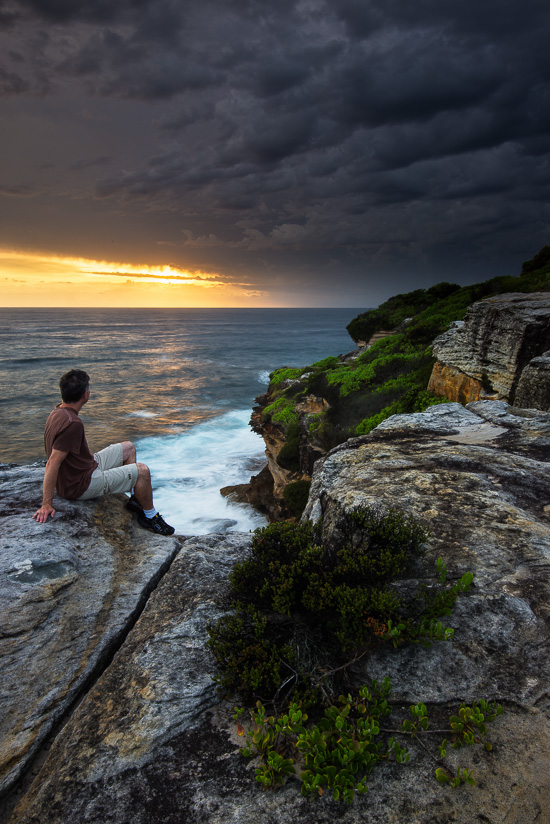
Gerry’s View
The sun finally made an appearance through a hole in the clouds so it was time to admire the view and take a selfie while I was at it.
This shot is actually a manually blended image using two frames – one a 0EV frame and the other a +2EV frame.
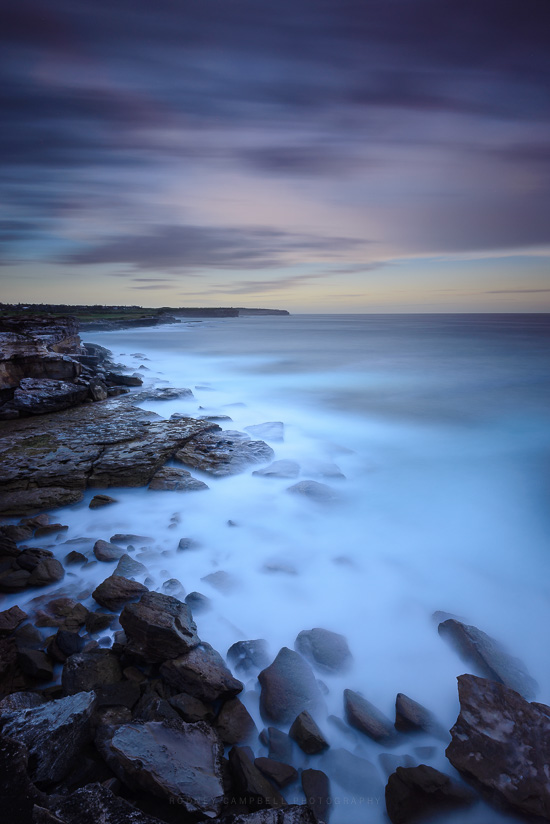
Cape Banks Rising
Then it was out with the Lee BigStopper to try a long exposure looking over the cliff down to the rocks and water below and up the coast to the north. Here stacked with the Heliopan CPL and the Lee 0.9 Hard Grad.
Smooth Motions
Emerald Waters…
by Rodney Campbell on Dec.09, 2015, under Life, Photography
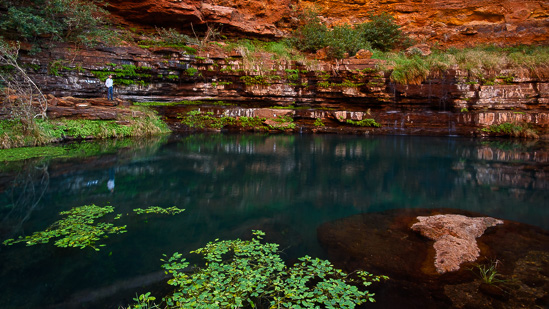
With this fantastic emerald green water in Circular Pool I was looking to try out some selfie action with the smooth reflective waters.
I moved further around the pool to my left from where I’d taken my previous shots and setup on a higher point overlooking the pool.
Up first is this single frame taken with the ultrawide at 19mm which takes in quite a bit of the pool. I wanted a reasonable shutter speed so I could try and stand as still as possible when taking the frame. I was using my wireless remote trigger so I could casually walk over the rocks around the pool edge to the other side and trigger my camera at my convenience. I bumped the ISO to 400 and opened the aperture to f/8 to bring the shutter up to around half a second.
Emerald Waters
Note: These photographs (especially the wider shots) look much better when larger – so click any of the images below to see larger versions in an inline overlay slideshow gallery viewer.
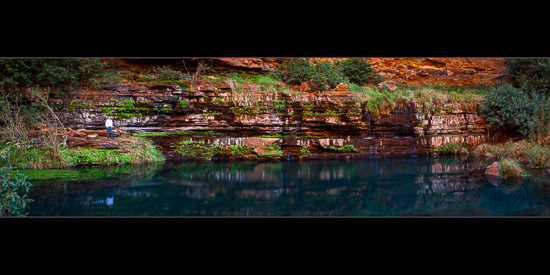
Next I changed lenses (to the 24-70/2.8) and setup for a tighter stitched panorama shot at 62mm. It encompasses a wider overall view but with a much more limited height. The final stitch comprises nine (9) vertical frames which I shot from right to left. I took all the frames first using my target ISO (100) and aperture (f/11) and then moved back one frame from the left and took a couple shots with me standing in position in the middle of that single frame. I also took some with the ISO bumped to 400 to improve the shutter speed but didn’t need to use them in the end.
Circular Vision
These are the sorts of selfies I like best with me just being a tiny element in the overall landscape :). Plus who can resist that stunning emerald green glass.
Circular Pool…
by Rodney Campbell on Dec.07, 2015, under Life, Photography
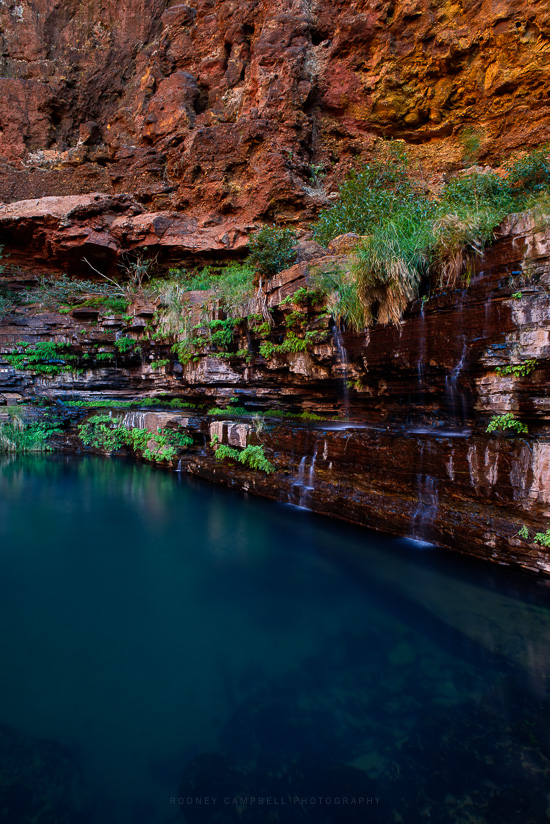
At the end of a very pleasant 800m walk down and along Dales Gorge we reach the end of the gorge and at the base is Circular Pool. It is so named because of the quite circular nature of this end of the gorge and the pool nestled here at the end – almost like a cul de sac.
I’d arrived early enough (8AM) to both have the whole place to myself and for the sun to still be low enough so as to not reach down here to the base of the gorge. All I was getting for the next hour was beautiful reflected light off these amazing red and orange gorge walls.
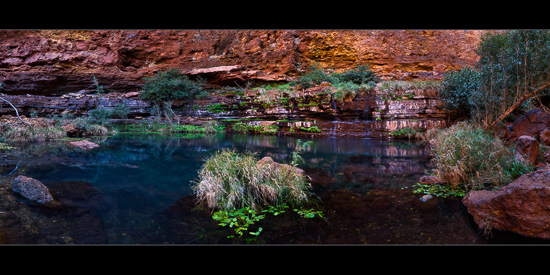
Given the location panoramic images seemed to be the order of the day. The upper gorge walls were brightly lit by the direct sun but down here 100m at the bottom we had fantastic soft light.
My first stitched panorama is the result of stitching eight (8) vertical frames taken at a very wide 18mm with the Nikon 16-35/4.
Circulating
Note: These photographs (especially the wider shots) look much better when larger – so click any of the images below to see larger versions in an inline overlay slideshow gallery viewer.
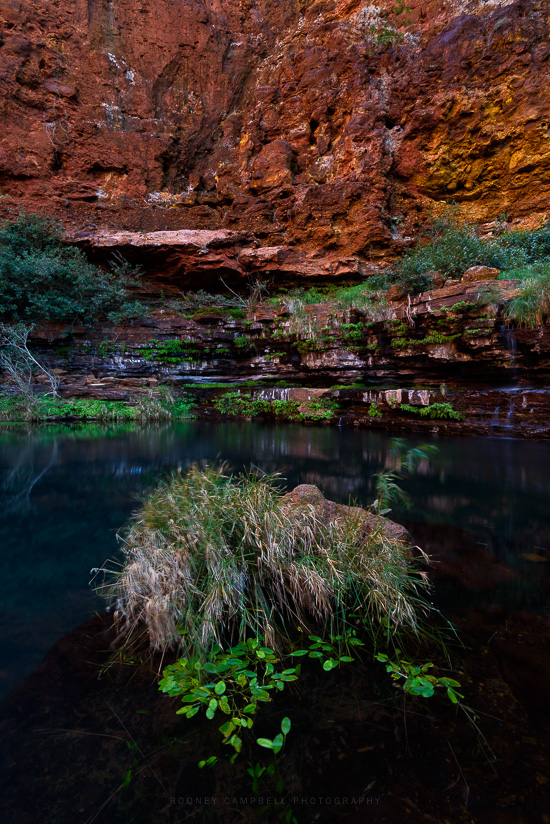
This was the dry season so the water wasn’t cascading down from above into the pool (which I’d imagine would look spectacular – and be incredibly dangerous to boot :)). The water was however still like glass and crystal clear. It’s amazing how green the water looks in the deeper areas (presumably a characteristic of the minerals at the bottom of the water) and is such a stark contrast to the golden orange and red rocks.
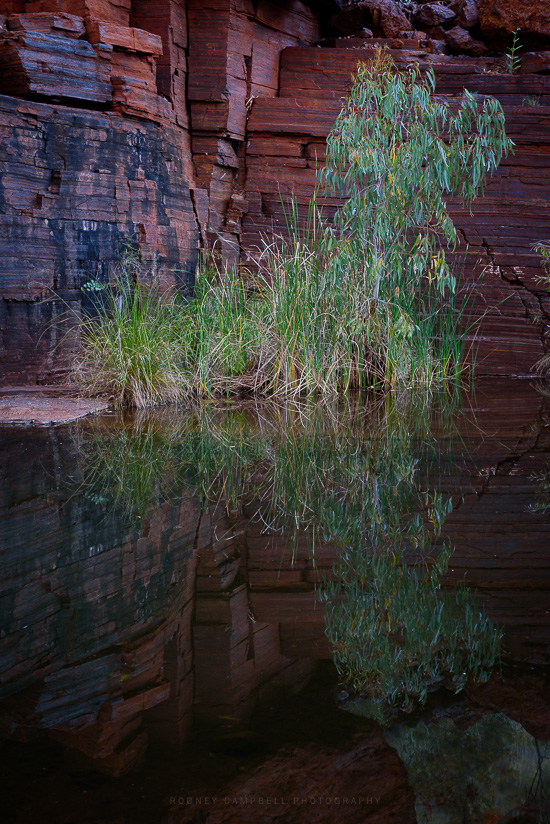
When I was taking the frames for my stitched panorama I made sure that one of the frames was this vertical composition with that very nice grass covered rock in the water in my foreground. Here I’ve processed it as a single frame.
Whisps of Green
The shot below is one of my last at Circular Pool – it was now 9:05AM and the first of the tourists was just arriving so it was time to go. After packing up I helped some lovely young german backpackers out by taking some photos of them with their phones before heading out.
Flowing Greens
Trekking to Circular…
by Rodney Campbell on Dec.06, 2015, under Life, Photography
After a magic first day in Karijini National Park I rose early to have my first sunrise with these amazing gorges. I was trekking to Circular Pool this morning to see what hidden treasures I might find.
I didn’t really know what to expect or what sunrise over the gorges might bring. I suspect if it had been a different time of the year and there were clouds in the sky sunrise over the gorges would be very different (and more spectacular). As it was I was here in the dry season so for weeks there’s not a cloud in the sky. With clear blue skies even before sunrise there’s very little reflected light down in those darkened gorges and the skies don’t quite have that soft interesting light dawn often brings.
I figured I wouldn’t arrive before sunrise like I usually do. I didn’t fancy trying to make my way down a dangerous trail in the dark. My best guess was to arrive a little after sunrise and see what the conditions would bring. I’d work my way down the gorge towards the pool and then spend an hour or two there before the sun rose high enough to shine down into the gorge and make it impossible to shoot in there.
After trekking (well driving :)) to the Dales Day Use carpark and then trekking the very short distance to the cliffs above Circular Pool I took a few shots from up top around 7AM.
I then made my way along the clifftop to the Three Ways Lookout (where the trail goes down to the bottom of the gorge).
Three Ways Lookout
Note: These photographs (especially the wider shots) look much better when larger – so click any of the images below to see larger versions in an inline overlay slideshow gallery viewer.
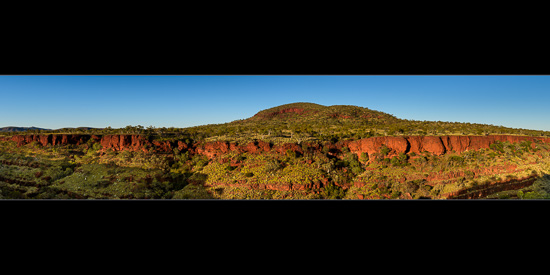
This panoramic view is the result of stitching eight (8) horizontal frames taken at 55mm. I actually can’t remember if I took this handheld or with the tripod… It shows the view looking two of the three ways as the low sun hits the cliff walls and the ranges on the far side. Fortescue Falls and Fern Pool (where we were yesterday) are to the right and Circular Pool where I’m heading today is around behind me on the left.
Time to go trekking down the rough track to the bottom. Actually at this time of the morning it was cool and pleasant – I wasn’t looking forward to the trek back out later when it was much warmer and the sun was beating down from above.
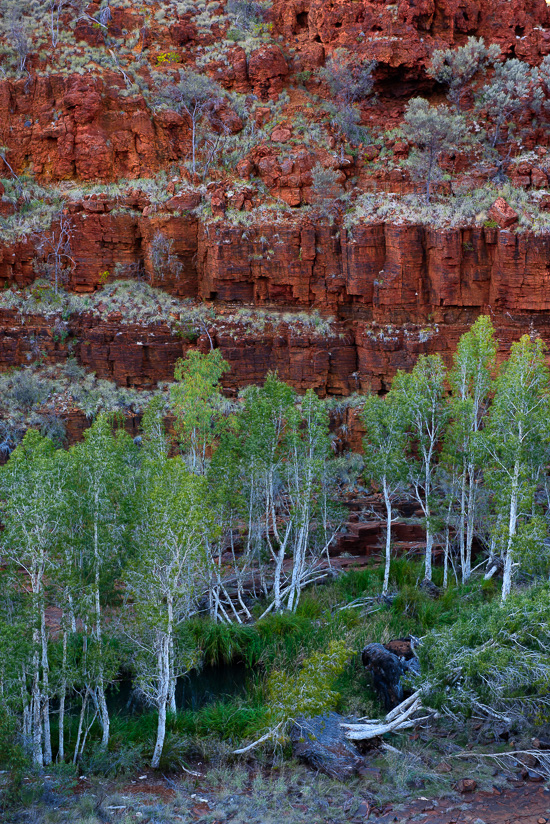
Some of those massive paper bark trees growing along the base of the gorge – dwarfed by the massive red gorge walls.
Standing Trees
Reflected Layers
D750 High ISO Testing – Take Two…
by Rodney Campbell on Dec.04, 2015, under Life, Photography
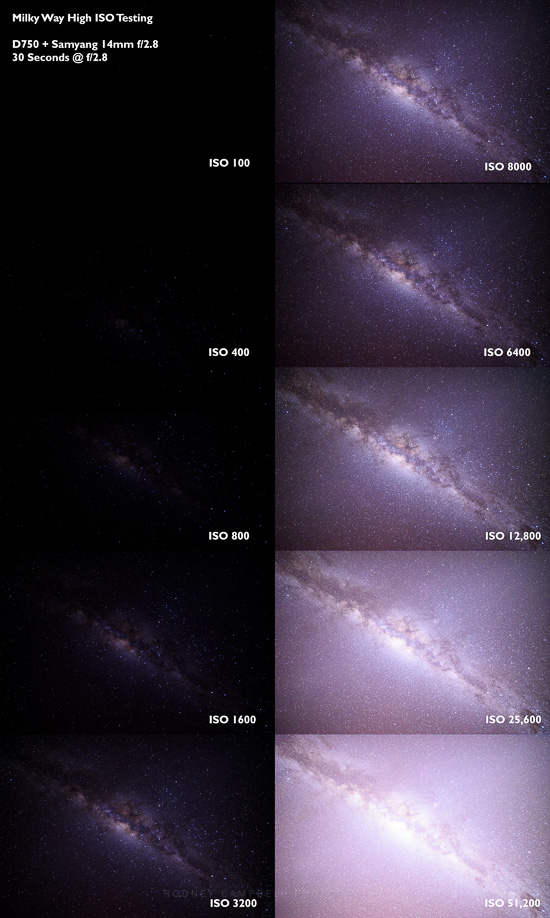
Earlier in my trip I’d taken some High ISO milky way test shots with my D750. Whilst I was out here in the dark skies of Karijini National Park I figured I’d give it another shot (no pun intended).
D750 ISO Testing
For really good static starry skies images you need to be using fast wide aperture lenses which allow lots of light in (e.g. f/2.8 or faster) and also the ability to shoot longer exposures (either by using a very wide angle of view to cut down on he effects of the movement of the stars or a motion tracking unit).
Lastly it is the high ISO performance of your sensor which completes the exposure puzzle in allowing enough sensitivity to the very faint light of the faintest stars which allows you to capture more star filled scenes of the night sky.
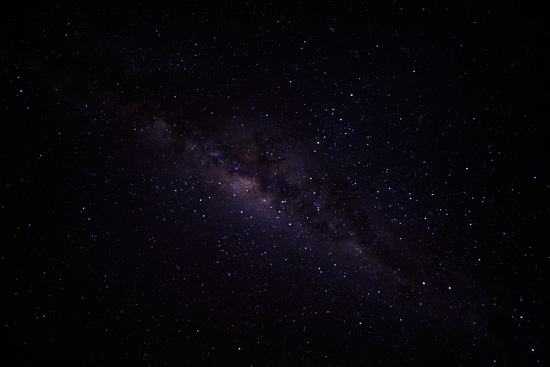
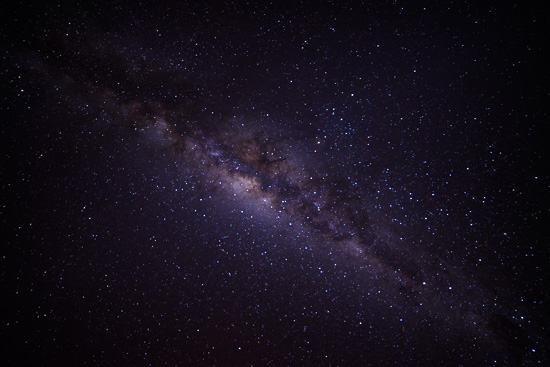
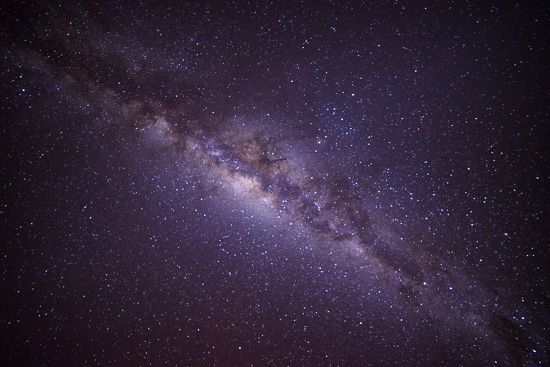
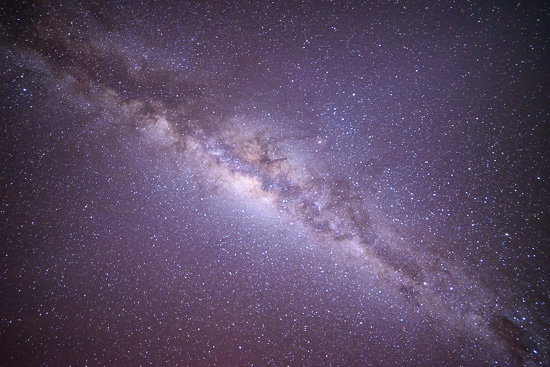
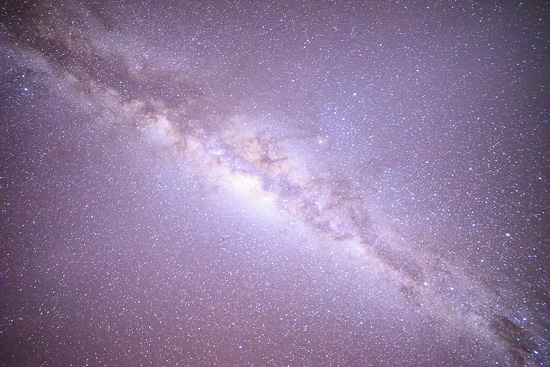
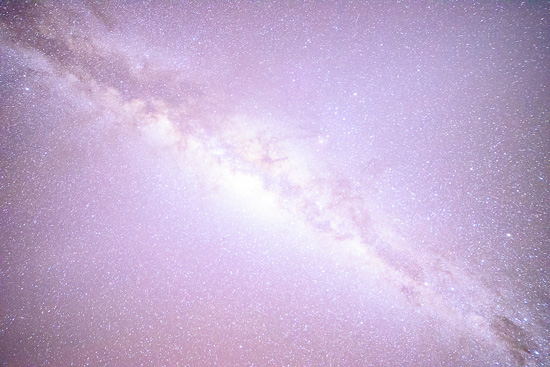
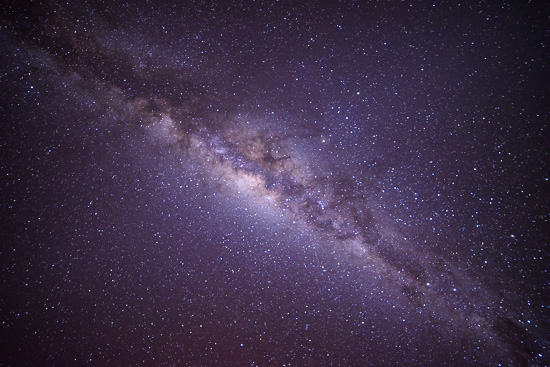
For the shots below I’ve taken these shots with the same camera, lens and framing. I have also used the same aperture (f/2.8) and shutter speed (30 seconds) and have just varied the ISO setting to give you a feel for what the resultant shot of the Milky Way will look like at various ISO settings.
These images were all shot in RAW, were all 30 seconds long and have all had the same synchronised basic adjustments applied to them in Lightroom, including white balance, sharpening, contrast and a few other minor basic global adjustments.
I’ve basically just taken a sequence of images doubling the ISO each time. I’ve skipped ISO 400 and I added an extra shot in the top right corner shot at ISO 8000 which I think may be my new favourite really dark skies ISO (with the D750).
Note also that I’ve pointed the camera upwards into the sky towards the brightest galactic core part of the milky way.
Each of the individual images can be seen larger below.
Note: These photographs (especially the wider shots) look much better when larger – so click any of the images below to see larger versions in an inline overlay slideshow gallery viewer.
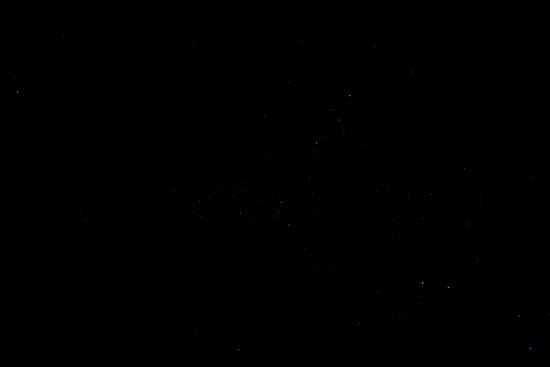
ISO 100 – just to give you a base reference – as you can see only the very brightest few stars are visible.
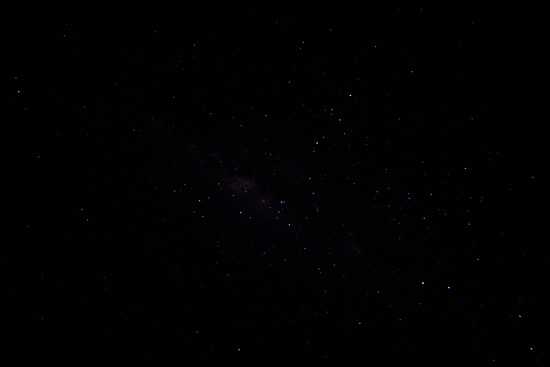
ISO 400 – this is probably the peak usable ISO available on most point and shoot cameras. You can see even if you could get them to do a 30 sec exposure at f/2.8 it would basically be pointless.
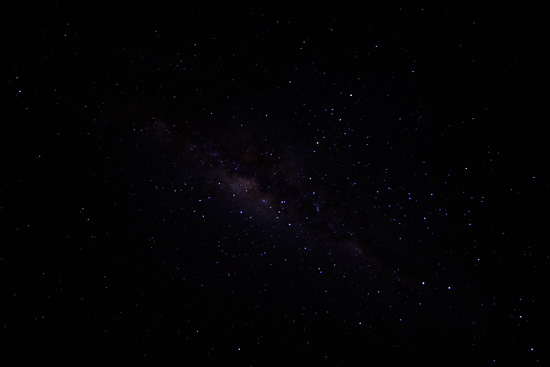
ISO 800
ISO 1600 – possibly the start of being useful – you might be able to massage this in post processing to something decent.
ISO 3200 – this is probably the starting point for a good spread of stars shot under good conditions (using 30 seconds @ f/2.8).
ISO 6400 – this is likely around my ideal target under good conditions (using 30 seconds @ f/2.8).
ISO 12800 – this is surprisingly good under good conditions (using 30 seconds @ f/2.8).
ISO 25600 – using the first of the extended ISO ranges on the D750 (Hi1) has definitely brightened the sky but has also increased the background ambient and the background noise and the stars have lost their contrast against the sky.
ISO 51200 – the second extended (Hi2) and maximum ISO capability of the D750. Way too bright overall and quite noisy but remarkable none the less.
ISO 8000 – my new goto ISO for really dark skies I think.
