Aurora HDR Pro First Look…
by Rodney Campbell on Nov.25, 2015, under Life, Photography, Technology
There’s a new entrant in the HDR (High Dynamic Range) software package space called Aurora HDR from the maker of a suite of excellent photography software products for Mac computers macphun.
Aurora HDR is a joint project between Macphun and the worlds most renowned HDR photographer Trey Ratcliff.
It works as a standalone application and as a plug-in to Adobe Photoshop, Adobe Lightroom and Apple Aperture.
Full Disclosure: My copy of the software was provided for free – I’m also using the Pro version of the software. I’ll still tell you exactly what I think but I thought you should know in advance.
I’m also a landscape photographer with a particular passion for seascapes, long exposure and night photography. For the later two the use of HDR techniques are rarely if ever needed, and for my landscape work I don’t find I can get acceptable results using HDR (or rather tone mapping) tools. I much prefer either using filters in the field or exposure blending techniques (using layers and manually painted or luminosity masks).
So in that regard I don’t find I use HDR software all that often.
I do however find it a very useful tool when shooting architecture, especially indoor architecture. Where that enhanced detail and gritty look can often provide that additional level of interest to the image in addition to the contrast and extended dynamic range control. In particular I find it very useful when creating monochrome architectural work.
History
In the past I’d traditionally used either Photomatix Pro or Google/Nik HDR Efex Pro as my HDR software tool of choice. As I mentioned I’d never really liked what those packages did to images of the natural world (landscapes, seascapes, etc). When I did use them I tended to only make use of the “natural” presets as starting points and work from there.
More recently I’d switched to using them just to create the base 32bit HDR file (without any tone mapping) which I’d then bring back into Lightroom for my normal RAW post processing workflow. This would allow me to process the image with tools I was very familiar with just with a data file with much more dynamic range and data available to play with.
When Lightroom 6 was released with it’s new Photo Merge to HDR feature built in I switched to that as a quick and easy method for creating those 32bit RAW files for editing. The advantage was that this was a simple one step process and there were basically no controls (other than Auto Align (which I enable), Auto Tone which I basically never use and some very simple Deghosting controls (which is probably the weak area of this software)).
Back Story
I’d recently visited a lighthouse on the south coast of NSW here in Australia and had the opportunity to spend time inside with my tripod and Samyang 14mm ultra wide prime. With a dark central interior with small rectangular windows to the bright outside world scattered around the rounded interior it was a typical scenario for dealing with very large contrast differences.
I took a number of bracketed sequences with my Nikon D750 using 5, 7 or 9 auto brackets (spaced at 1EV intervals).
So when the chance to use a new HDR software suite came up I figured I’d run some images through and compare the results.
Note: This is based on Version 1.01 which is the current version of the software at this time.
Comparisons
For the following comparisons I’m editing the same images in at least three ways.
I firstly pre-process the source frames (5, 7 or 9 shots) with a few simple settings in Lightroom (e.g. Remove Chromatic Aberrations, White Balance, Highlight Recovery, etc).
– I then use Lightroom’s Photo Merge to HDR feature to create a 32bit DNG file and then edit that file in Lightroom using my “normal” post processing workflow
– As a reference I take a single D750 RAW file (typically the -1EV frame) and editing just that single frame in Lightroom using my “normal” post processing workflow (in some cases I just copy all the above workflow minus the overall Exposure adjustment to this file)
– I use the Aurora HDR Pro Lightroom export preset to feed the bracketed source frames into the plugin and process
Aurora HDR
I havn’t had enough time to give a detailed analysis of the features of Aurora HDR Pro however I’ll give you my thoughts and impressions so far.
The user interface is very pleasing and has that very familiar look and feel to anyone who uses software like Adobe Lightroom with it’s column of control sliders on the right. The layout is sensibly organised though in the pro version at least the number of available options is staggering and somewhat overwhelming.
It does however have a number of advanced options you won’t find in any other HDR software packages including the use of Layers (including Blend modes), Masking and built in Luminosity Mask.
The package comes with a number of built in presets along with a number supplied by Trey. I like most people find presets to be a useful means of seeing what end result options might be possible and then finding a good starting point and working from there.
In this instance I found that almost all the preset options were (in my humble opinion) too over the top HDRy. Even the so called “realistic” options were not very realistic to my eye and had too much of that eye popping saturation, crunchiness or inverted light that appears to be so prevalent.
The sliders in the software however do give you ultimate control so with practice and refinement I’m sure you can produce images which will look like you want them to. With as much or as little of that HDR look as you desire.
One thing I really like in this software is that the resulting image updates in real time with the movement of the sliders. This is one aspect of say Photomatix Pro which was annoying in that the image didn’t update till after the slider was moved and let go.
Samples
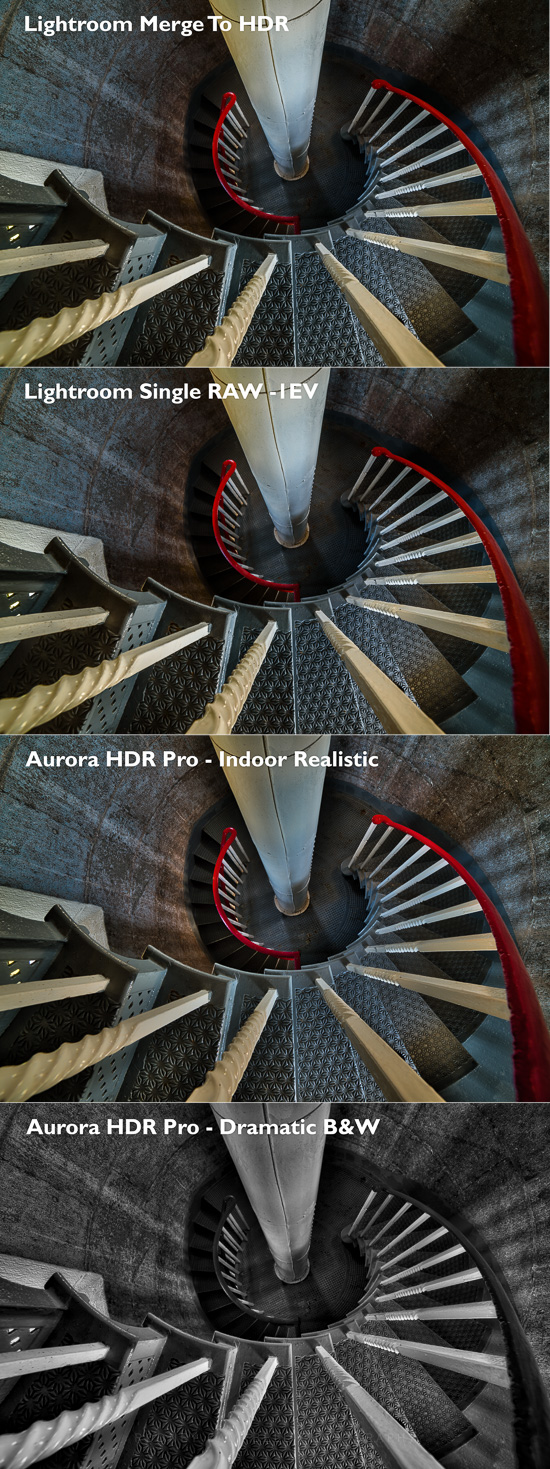
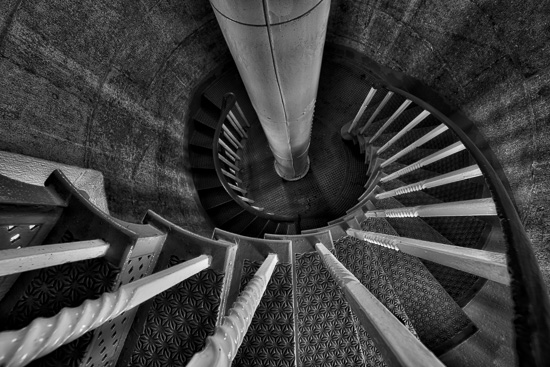
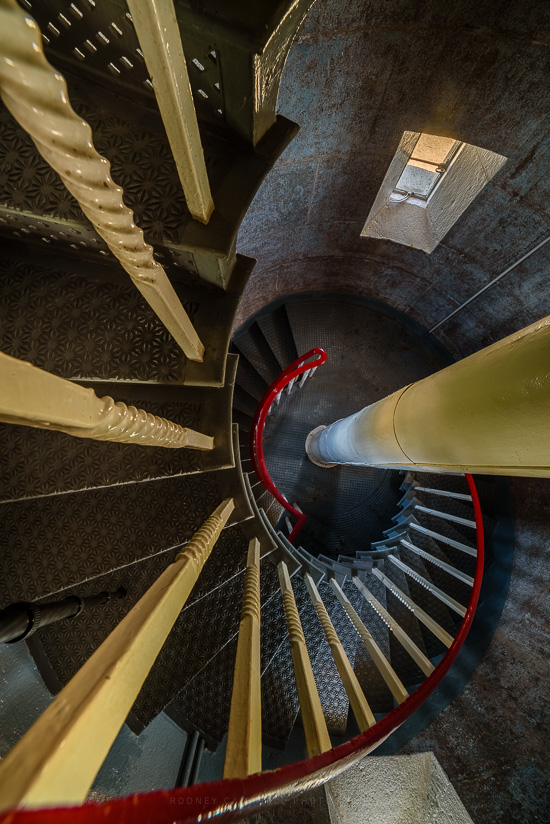
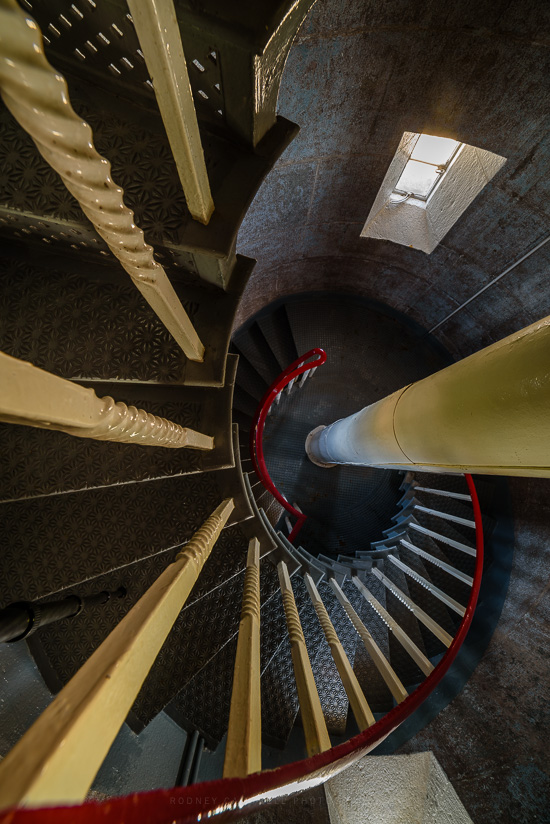
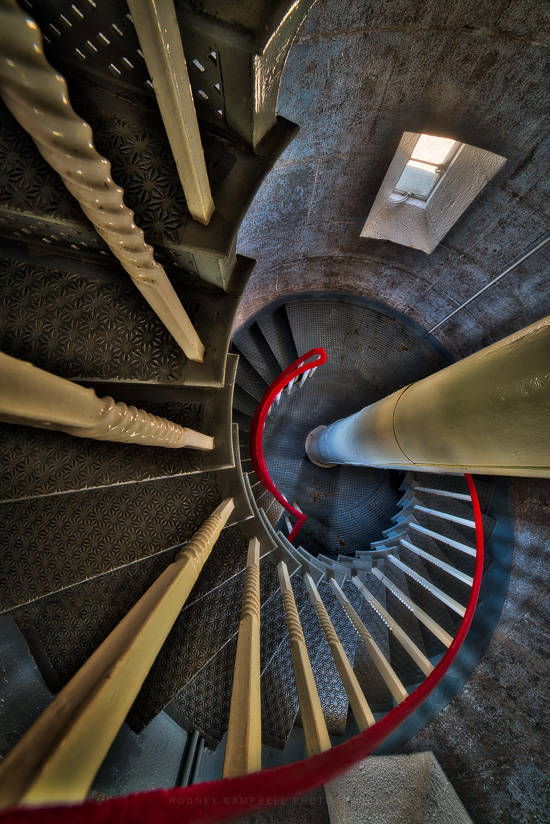
With this first sample I’ve performed the four processing’s of the image. The source data is nine bracketed frames taken from -7EV to +1EV.
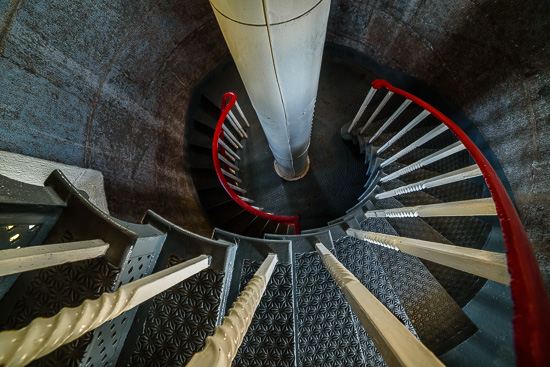
The top image is a Lightroom Merge to 32bit HDR and then processed in Lightroom version.
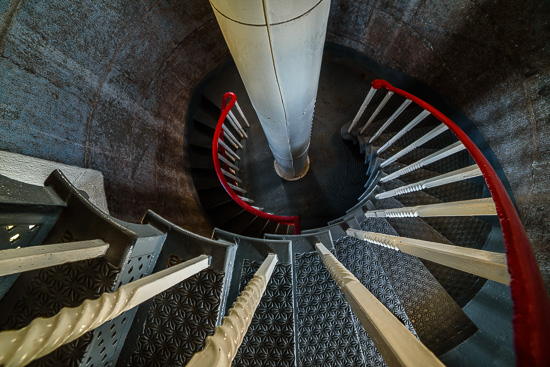
The second has exactly the same Lightroom processing as the first (minus the overall Exposure adjustment) applied to just the single -1EV frame. What is remarkable here is the dynamic range retained by the D750. The resulting image is very nearly identical to the 32bit HDR merge (which has slightly better shadow detail).
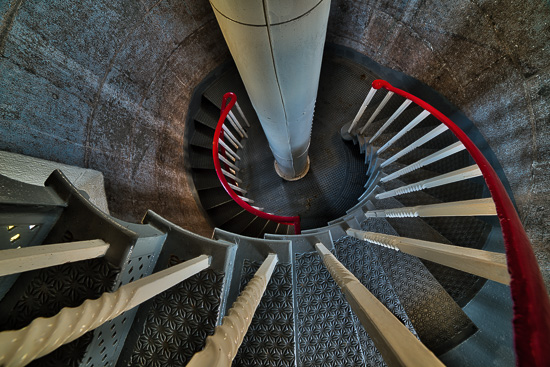
The third is tone mapped in Aurora HDR Pro using the Indoor Realistic preset as the starting point and then with some tweaking of the sliders.
Finally the fourth version is also tone mapped in Aurora HDR Pro using the Dramatic B&W preset as the starting point and then with some tweaking of the sliders.
Note: These photographs (especially the wider shots) look much better when larger – so click any of the images below to see larger versions in an inline overlay slideshow gallery viewer.
Lightroom Merge To HDR
Lightroom Single RAW -1EV
Aurora HDR Pro – Indoor Realistic
Aurora HDR Pro – Dramatic B&W
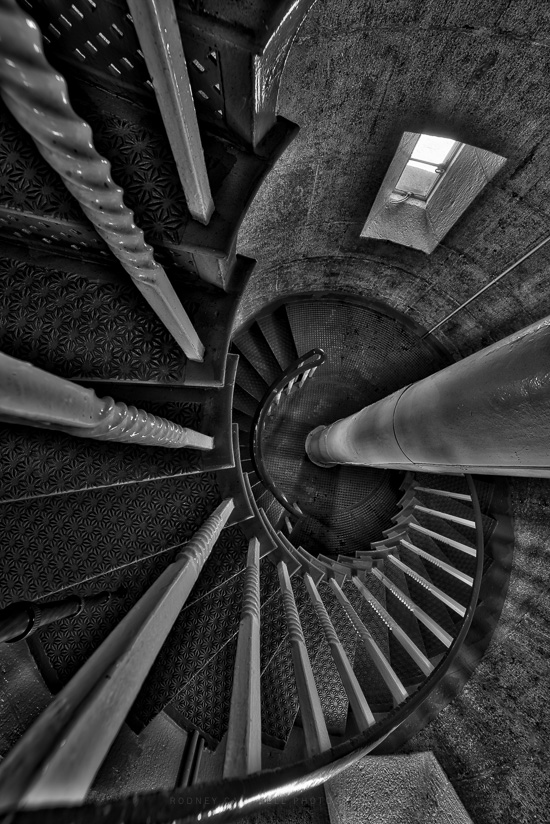
Sample 2
As above the source data for the images below is nine bracketed frames taken from -7EV to +1EV and I’ve performed the same four processing’s of the image.
Lightroom Merge To HDR
In this instance the 32bit HDR has recovered much more detail from the blown out window. Those -7 to -5 frames proving much more useful here. Moreso than even Aurora HDR was able to pull from the window (with my processing settings).
Lightroom Single RAW -1EV
Aurora HDR Pro – Indoor Realistic
In the Aurora HDR Pro versions the presence of some unnatural haloing around high contrast boundaries is present. For example that strange darker shadowing around the window area and the central pole. Likewise the lighter halo just beneath the stairs (esp the second stair) at the top left. We also have that telltale HDR “dirtiness” that can sometimes occur – for example on the top of the twisted rails on the left side – esp that one coming up into the bottom left corner.
This would likely be a scenario where ideally you would layer in some of the original frames and blend in some of those images into selective areas to remove any problem areas.
Aurora HDR Pro – Dramatic B&W
I’ve not yet had a thorough play with the extremely extensive options and features available in the software. When I have had a chance to become much more familiar and have had some time to make use of them I’ll post a follow up article on my experiences.
